Deploying TeamSpeak 3 on Ubuntu 22.04

Discord has pretty much replaced Teamspeak, but there are still some good use cases for the product. I decided to roll a server out to play Minecraft with my son. He’s young, so I didn’t want to have to create a Discord account. Plus, if some company has any of his info, it should be up to him when he is older.

This brought me to the idea of rolling out a TS3 server. I had done it many years ago during my World of Warcraft days. It turns out the installation continues to be simple.

You can rent a VPS from Digital Ocean or do what I did and roll my own in Proxmox. I started with a fresh Container on Ubuntu 22.04 LTS. I won’t go over the setup of Ubuntu Server, but I will have a tutorial on how I do it coming soon.

Start by SSHing into your server. The first thing is to create a new user for Teamspeak service to run on.

sudo adduser --disabled-login teamspeak

Be sure to specify the --disabled-login account so it cannot be logged into locally or remotely.

Using our current user, log in as the teamspeak user.

su - teamspeak

You will also want to download the Teamspeak 3 server software from here. Be sure to download the 64-bit version under the Linux header.

Once downloaded, upload the file to the Ubuntu server with scp or the FileZilla client. You can also use wget to download it directly onto the server.

wget https://files.teamspeak-services.com/releases/server/3.13.7/teamspeak3-server_linux_amd64-3.13.7.tar.bz2

Next, we need to extract the contents of the tar file.

tar -xvfj teamspeak3-server_linux_amd64-3.13.7.tar.bz2

Copy the new directory and move it to the users home directory.

cp teamspeak3-server_linux_amd64/* -R /home/teamspeak/

Now that the files are in place, accept the license agreement by creating this file.

touch .ts3server_license_accepted

Type exit to leave the teamspeak users prompt and return to our account.

We must tell our Ubuntu Server how to start and stop the Teamspeak service. We will create a config file so systemd knows how to do this.

We will use nano as our text editor, you can use anything you are comfortable with.

sudo nano /lib/systemd/system/ts3server.service

Paste in the code below. If you used a different account name, you may need to adjust the folder names.

[Unit]
Description=Teamspeak Service
Wants=network.target

[Service]
WorkingDirectory=/home/teamspeak
User=teamspeak
ExecStart=/home/teamspeak/ts3server_minimal_runscript.sh
ExecStop=/home/teamspeak/ts3server_startscript.sh stop
ExecReload=/home/teamspeak/ts3server_startscript.sh restart
Restart=always
RestartSec=15

[Install]
WantedBy=multi-user.target

Save and close the file. You can press Ctrl + x and follow the prompts.

Reload systemd so it picks up this new config.

sudo systemctl daemon-reload

Add the service and start it now.

sudo systemctl enable --now ts3server

Check the status of it and grab the token code, too. You will need this token code to administer the server from the Teamspeak client.

sudo systemctl status ts3server

Firewall

Add rules to the firewall to allow the traffic through.

sudo ufw allow 3033/tcp
sudo ufw allow 9987/udp
sudo ufw allow 1011/tcp

That is it! The Teamspeak 3 server is up and running. It really doesn’t take that long if you’re familiar with bash. If you have any issues or questions, please click here to join the Discord server.

NTP Client Setup – Ubuntu 22.04

The following tutorial will cover how to enable the NTP client on Ubuntu. When working with Linux servers, the system time must be accurate. The best way to do that is by using the Network Time Protocol.

The first step is to install the NTP client.

sudo apt install ntp

Before we begin configuration, let’s back up the default NTP client config. We will use today’s date in the command.

sudo cp --archive /etc/ntp.conf /etc/ntp.conf-COPY-$(date +"%Y%m%d%H%M%S")

Open the config file using your favourite text editor. In my case, I will be using nano.

sudo nano /etc/ntp.conf

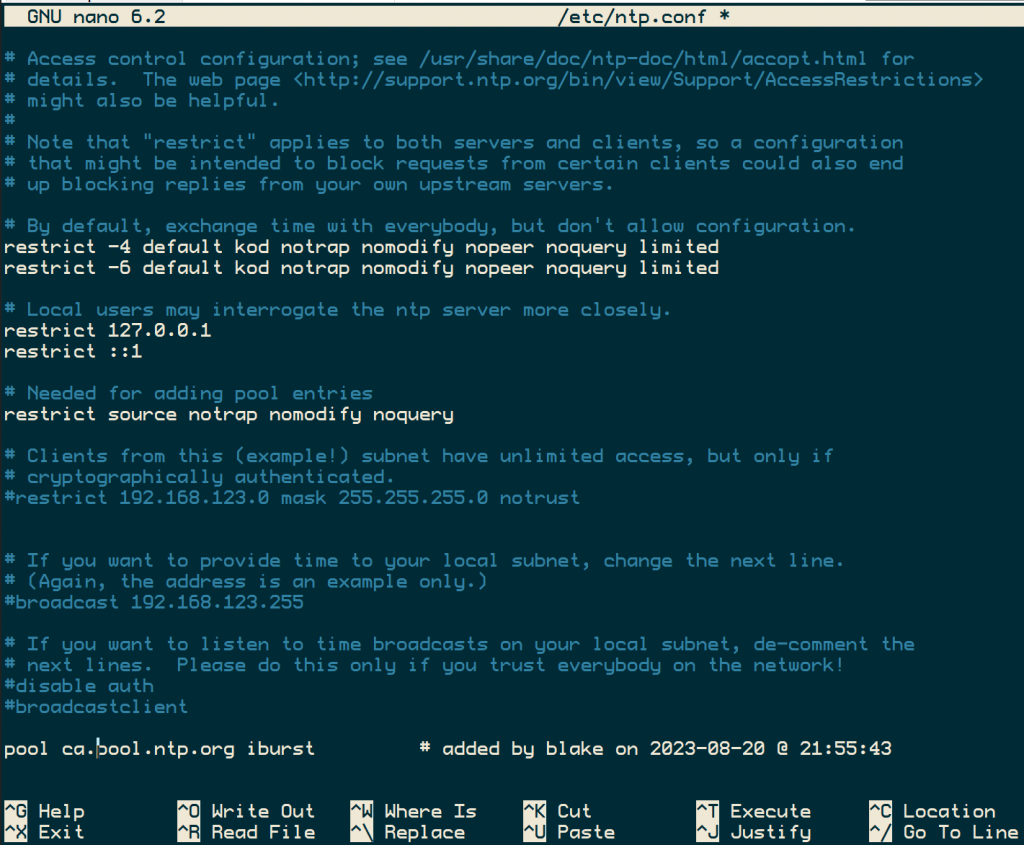
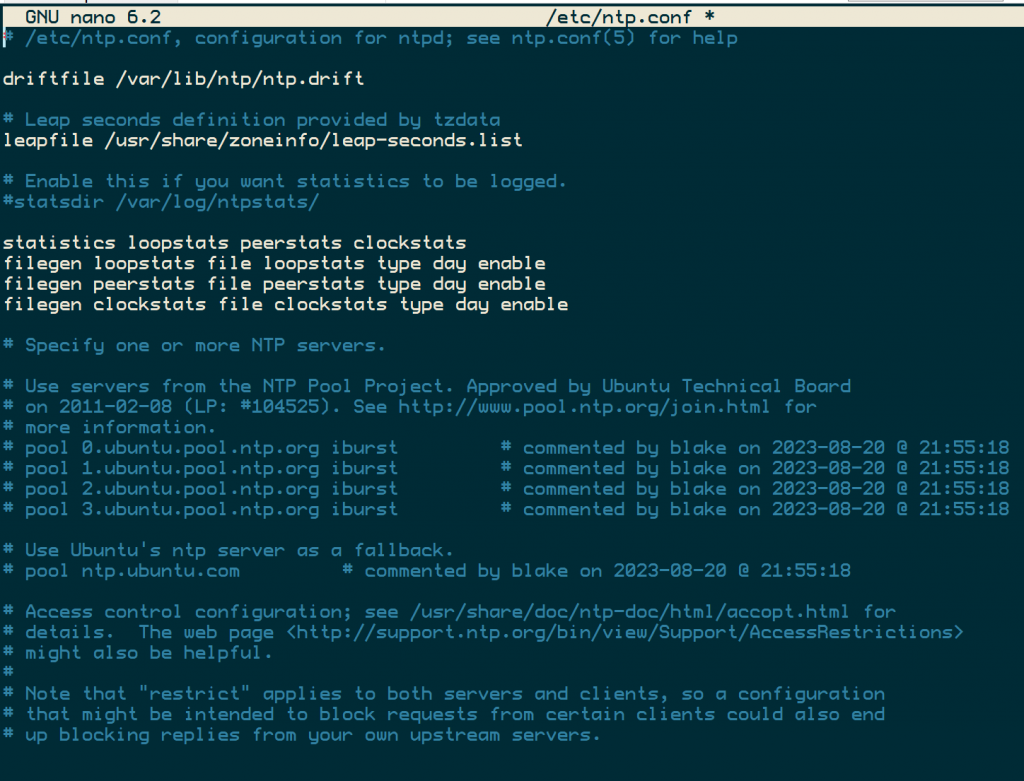
The first thing we want to do is comment out the current servers that ships with Ubuntu. Add a # in front of all the “pool” lines.

Head to NTP Pool and find the closest pool address to your machine. In my case, I am in Canada, so I’m going to add the following to the bottom of my ntp.conf file.

You can do this all in one command if you would like.

sudo sed -i -r -e "s/^((server|pool).*)/# \1         # commented by $(whoami) on $(date +"%Y-%m-%d @ %H:%M:%S")/" /etc/ntp.conf
echo -e "\npool ca.pool.ntp.org iburst         # added by $(whoami) on $(date +"%Y-%m-%d @ %H:%M:%S")" | sudo tee -a /etc/ntp.conf

We will restart the NTP client service once you have saved and closed the config file.

sudo service ntp restart

Let’s check to see if the service is running.

sudo ntpq -p

The following output should show.

Output of the ntpq command. This is showing the list of server NTP is getting time from.

That’s it! Your box will always get its time from the ntp pool; no more out-of-sync log files.

This tutorial was found in the How-To-Secure-A-Linux-Server GitHub repository. If you have any questions, please drop a comment below.

Deploying a Discord bot in Docker

A few months back I did a video on Fusion Terror’s YouTube channel. Fusion has actually been a summer student at my current place of employment for the last year. I had mentioned a few times how easy it is to get Node working in a Docker container.

I asked him if his audience would be interested in this type of content and he said yes! Away I went to film my first YouTube video.

Took me an entire morning to get things right but here is the final product.

If you want to code from this video, you can subscribe to his Patreon here.

I keep reflecting back on this and thinking about all the other ideas I have for videos. Maybe it’s time to start my own thing?

Installing MyBB 1.8.12 on Ubuntu Server

In the following tutorial I will explain how to install MyBB 1.8.12 on Ubuntu Server. I will be doing this from the command line so no GUI needed.

  1. Download the MyBB package. You will want to get the latest version of MyBB.
  2. wget --content-disposition https://www.mybb.com/download/latest -O mybb.zip
    
  3. By default Ubuntu does not come with unzip. Install that now.
  4. sudo apt install unzip
    
  5. Unzip the MyBB zip file
  6. unzip mybb.zip
    

    2 folders should now be in your present working directory. Unload and Documentation.

  7. Install LAMP (Linux, Apache2, PHP and MySQL) Restart Apache after
  8. sudo apt install apache2 mysql-server php-mysql php libapache2-mod-php php-mcrypt
    sudo systemctl restart apache2
    

    This install will ask to create a root password for the MySQL database.

  9. Move MyBB files to the server folder
  10. cd /var/www/
    sudo mkdir mybb/
    mv ~/Upload/* /var/www/html/mybb/
    

    You should now see all the files in the www/mybb directory.

  11. Rename the inc/config.default.php
  12. sudo mv inc/config.default.php inc/config.php
    
  13. Now change permissions on the following files and directories
  14. sudo chmod 666 inc/config.php inc/settings.php inc/languages/english/*.php inc/languages/english/admin/*.php
    sudo chmod 777 cache/ cache/themes/ uploads/ uploads/avatars/ admin/backups/
    
  15. Login to MySQL and create Database.
  16. mysql -u root -p
    

    Enter the password that was create for MySQL.
    Now create the database and a user to have access to this database only.

    create database MyBB;
    grant all privileges on MyBB.* to 'MyBB'@'localhost' identified by "S0mePassw0rd";
    flush privileges;
    exit;
    
  17. Browse to the install page.
  18. You can now follow the step by step installer. Be sure to specify the database credentials you create above. Do not use the root account.

Go to your main web URL and you should see your new forum ready to go! If you have any questions please leave them below.

Installing VirtualBox Guest Addition Ubuntu Server 14.04.3

Because my office is currently under construction I didn’t have access to my primary desktop machine that runs VMware Workstation. I needed to spin up a Ubuntu Server box to do some testing. It has been a few years since running VirtualBox but I decided to give it a go on my Mac Book Pro.

Installing VirtualBox is straight forward. Follow the on screen steps and you should be up and running. I setup a new VM with the minimum requirements for Ubuntu Server 14.04.3 LTS. All of my Digital Ocean servers run Ubuntu Server 14.04 LTS so I figured I would stick with that.

After installing and updating the new machine, I need to install the guest additions.

  1. Install the required build tools and dependancies.
  2. sudo apt install -y dkms build-essential linux-headers-generic linux-headers-$(uname -r)
    
  3. Restart VM.
  4. sudo shutdown -r now
    
  5. Mount the Guest Additions CD from the VirtualBox Menu.
  6. Devices -> Insert Guest Additions CD image

  7. Mount the CD in Ubuntu Server
  8. sudo mount /dev/cdrom /media/cdrom
    
  9. Change directory to CD
  10. cd /media/cdrom
    
  11. Guest Additions can now be installed
  12. sudo ./VBoxLinuxAdditions.run
    

    Ubuntu Server will give you an error about not finding X.org. Don’t worry about it. Guest additions get install anyways.

Restart the VM and that is it! VirtualBox Guest Additions have now been installed.

If you have any questions please let me know below!