The following tutorial will cover how to enable the NTP client on Ubuntu. When working with Linux servers, the system time must be accurate. The best way to do that is by using the Network Time Protocol.
The first step is to install the NTP client.
sudo apt install ntpBefore we begin configuration, let’s back up the default NTP client config. We will use today’s date in the command.
sudo cp --archive /etc/ntp.conf /etc/ntp.conf-COPY-$(date +"%Y%m%d%H%M%S")Open the config file using your favourite text editor. In my case, I will be using nano.
sudo nano /etc/ntp.confThe first thing we want to do is comment out the current servers that ships with Ubuntu. Add a # in front of all the “pool” lines.
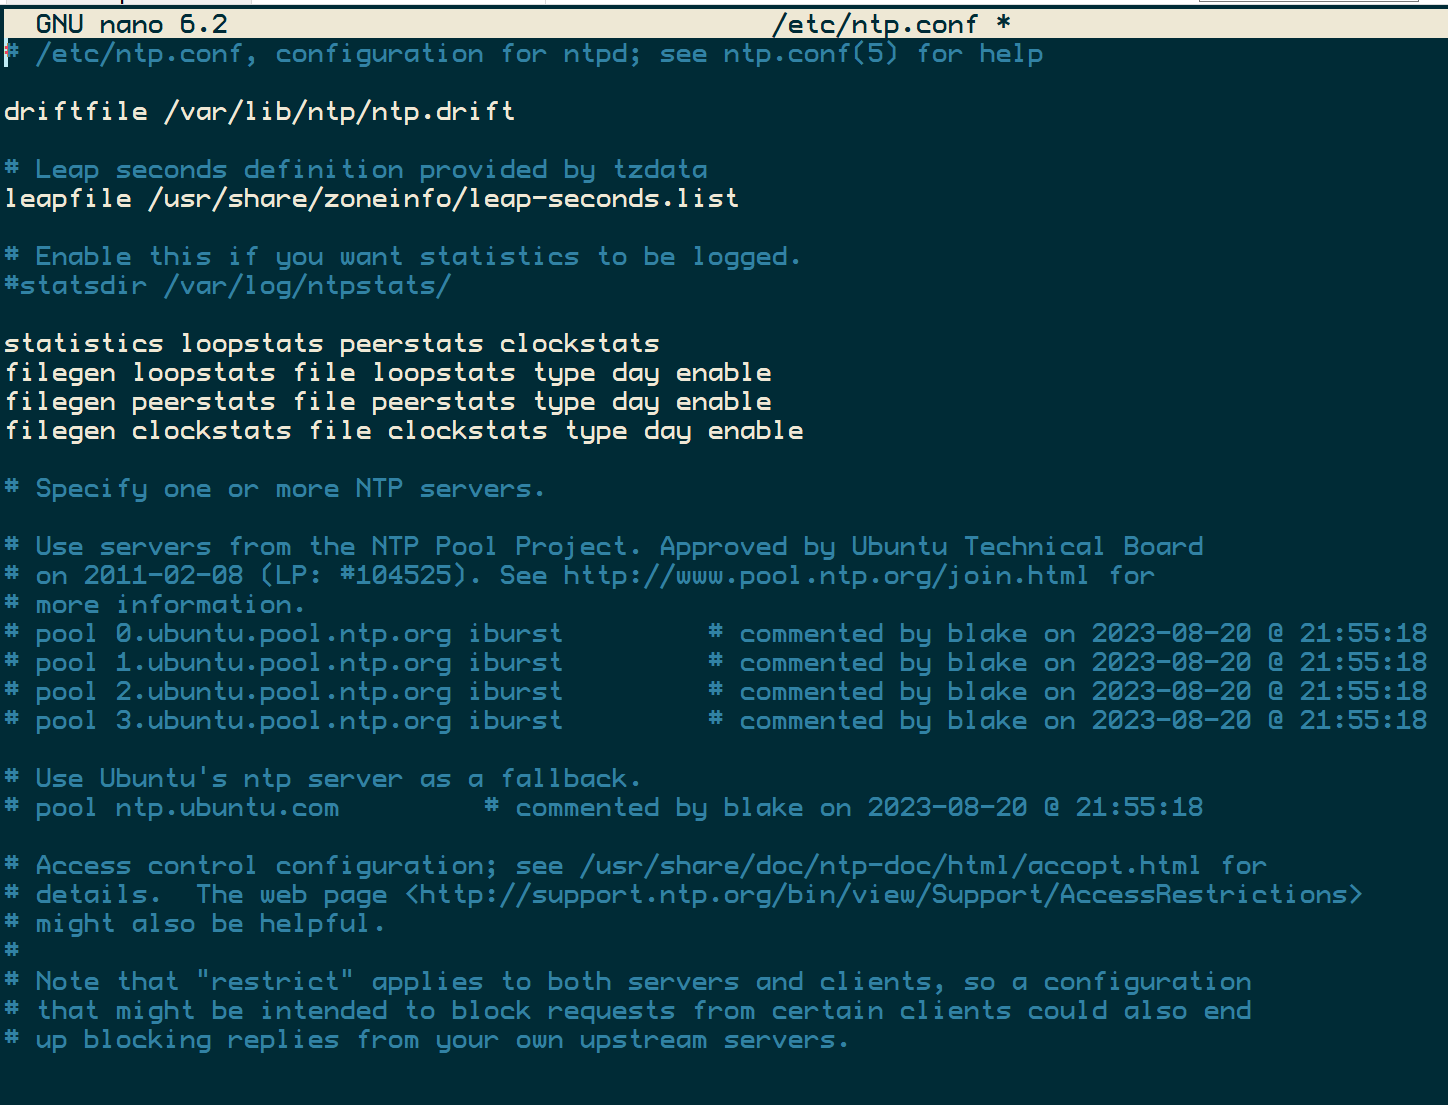
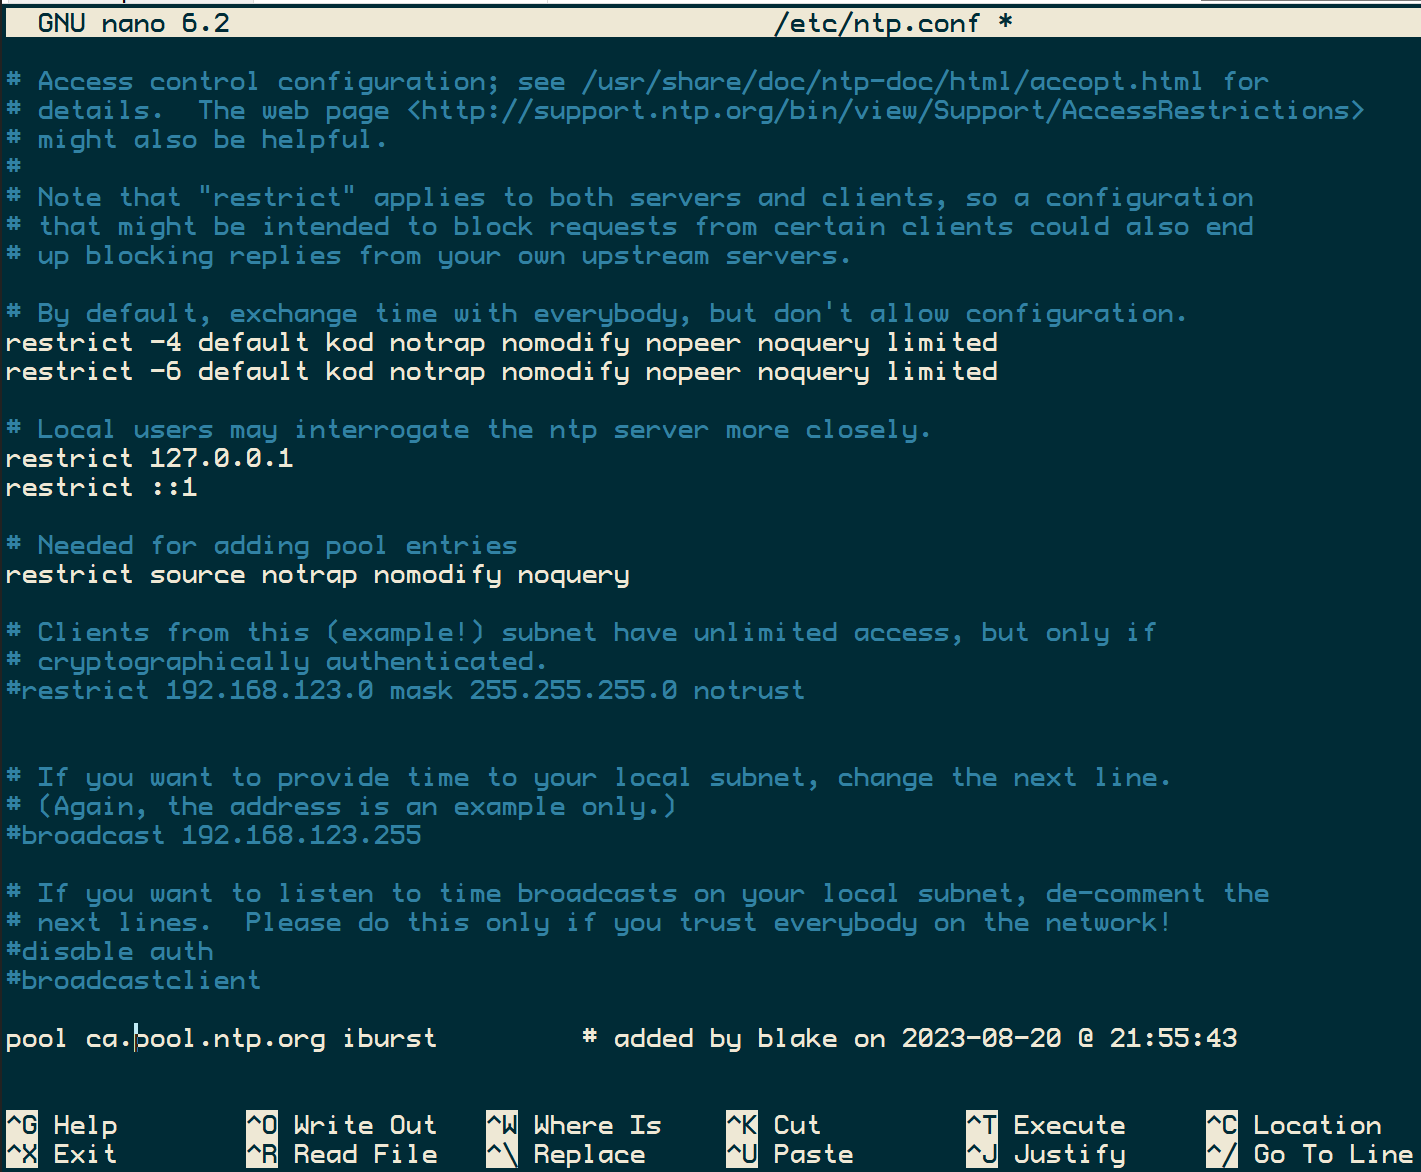
Head to NTP Pool and find the closest pool address to your machine. In my case, I am in Canada, so I’m going to add the following to the bottom of my ntp.conf file.
You can do this all in one command if you would like.
sudo sed -i -r -e "s/^((server|pool).*)/# \1         # commented by $(whoami) on $(date +"%Y-%m-%d @ %H:%M:%S")/" /etc/ntp.conf
echo -e "\npool ca.pool.ntp.org iburst         # added by $(whoami) on $(date +"%Y-%m-%d @ %H:%M:%S")" | sudo tee -a /etc/ntp.conf
We will restart the NTP client service once you have saved and closed the config file.
sudo service ntp restartLet’s check to see if the service is running.
sudo ntpq -pThe following output should show.
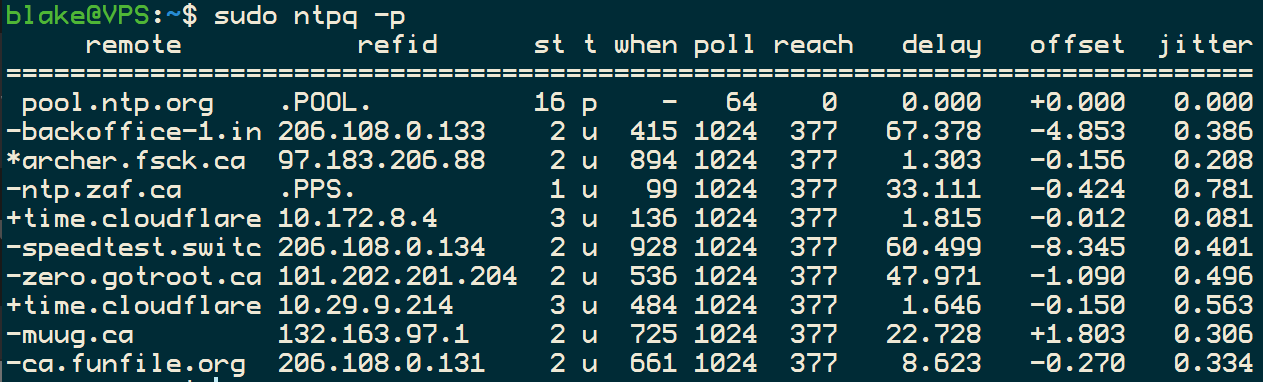
That’s it! Your box will always get its time from the ntp pool; no more out-of-sync log files.
This tutorial was found in the How-To-Secure-A-Linux-Server GitHub repository. If you have any questions, please drop a comment below.